Pick a language
Tutorial
SECTION 4 – PAINTING THE MODEL (EDITED BY MICHAEL KELLY)
This tutorial will focus on the use of an airbrush to paint the body parts of a 1/43 kit.
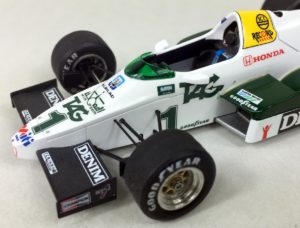
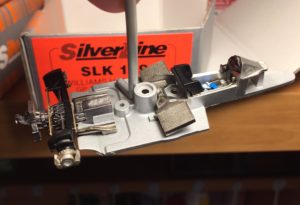
We have selected the SilverLine Williams Honda Fw09 (SLK 119) for this tutorial. The kit includes decals for the green sections of the car, however for this tutorial, we will paint both the white and green areas. The details of the kit have been highlights in the ‘opening the box’ section, however in summary, the kit is a highly detailed, but simple to assembly model made from white metal, photo etch parts and rubber tyres.
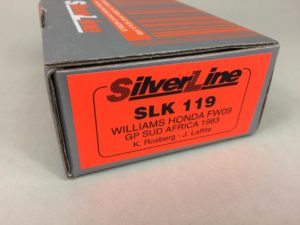
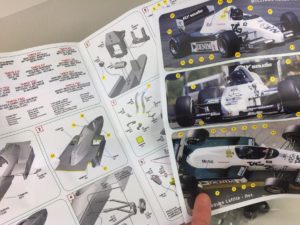
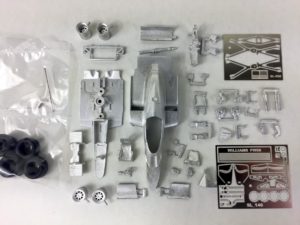
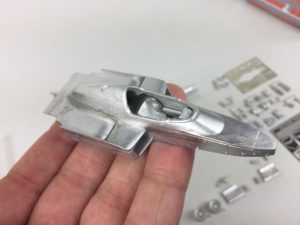
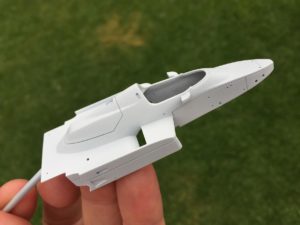
Following the process from other tutorials (HOW TO ASSEMBLE A 1/43 SCALE KIT), the body parts are thinned, sanded and sprayed with Tamiya white primer. After a very light sand with #1000 sandpaper, we are ready to paint.
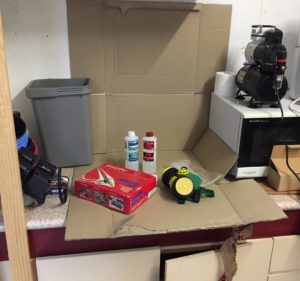
It is important to find a suitable spot to paint, with sufficient light and ventilation. I will use a corner of the garage, but with a spray booth and extractor fan, this could be done inside. A cardboard box provides a good backdrop to catch the paint.
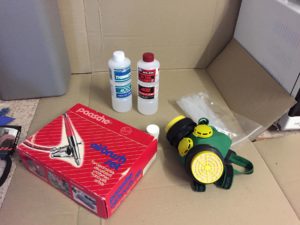
Firstly gather together all the items needed for the paint job – the airbrush, paint, thinner and cleaner, as well as paper towel for clean up.
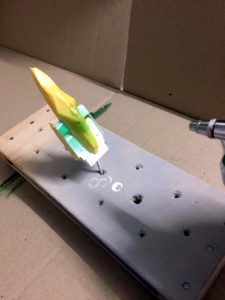
I have made a stand to hold parts by nailing two pieces of plywood and drilling holes in them.
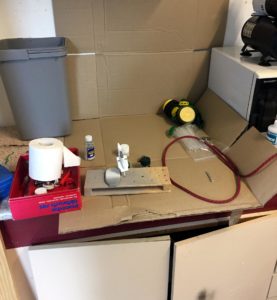
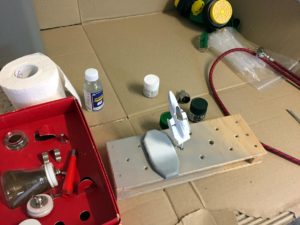
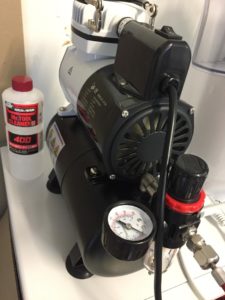
A compressor is a useful investment for painting. These can be a little more expensive, but getting one with an airtank and pressure regulator will give you much more flexibility.
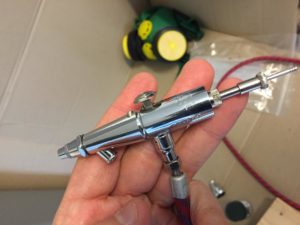
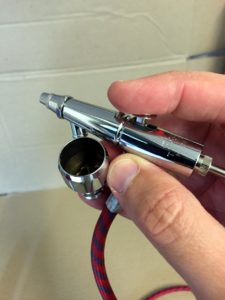
There are many different airbrushes available. Painting model cars does not require an especially fin spray pattern, but the ability to control paint and air separately is useful, so a ‘double action’ brush is preferred. Pressing down on the trigger releases the air, and pulling the trigger back releases the paint.
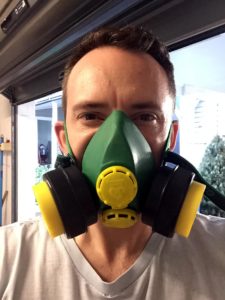
Even with the garage door open, a mask is a must to avoid inhaling harmful fumes.
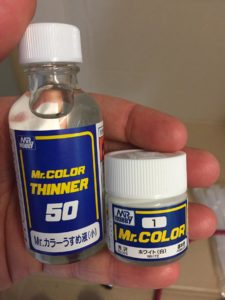
For this model we will paint with Gunze Mr Color. Ensure that the paint and thinner are compatible.
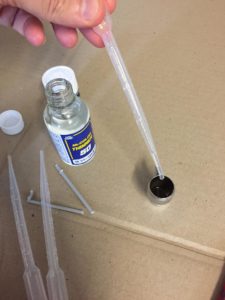
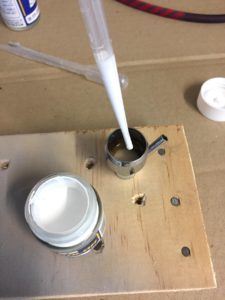
Before painting, I spray a small amount of thinner through the brush. This is habit more than anything, but ensures the brush was fully cleaned, and has been re assembled correctly. Pipettes are great for measuring thinner and paint.
With the paint cup attached, a practice spray gives a good feel for the airbrush. The double action allows incredible control over the flow of paint. Spray cans can give excellent results, but after you have used an airbrush, a spray can feels like throwing fistfuls of paint at the model.
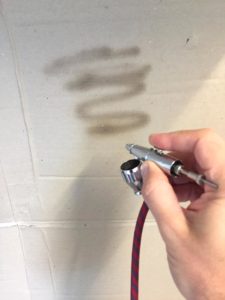
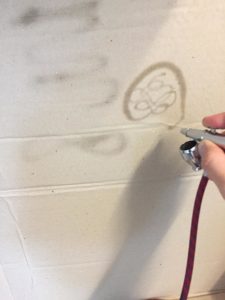
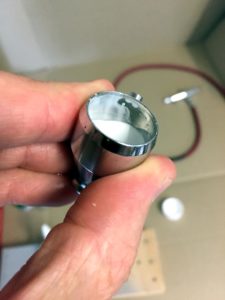
To spray the body colour, we will dilute the paint with thinner. I typically mix about 50:50. We are looking for the paint to have a thin, even consistency, and to leave a thin film of colour on the side of the paint cup when swirled. Again, test spray if you are uncertain. Too thick, the paint won’t break down to a mist in the airbrush, and you would get a lumpy finish on the model (called orange peel) – too thin and the colour won’t cover properly.
Air pressure is another variable to test. 25 psi should be sufficient to ‘atomise’ the paint and give an even spray. Always check the paint flow before moving to the model.
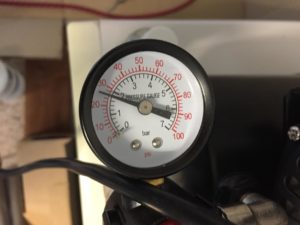
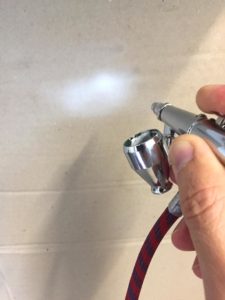
Painting white on white is very difficult to photograph, but spraying from 15-20cm away, in broad, even strokes, the colour builds up gently over two coats.
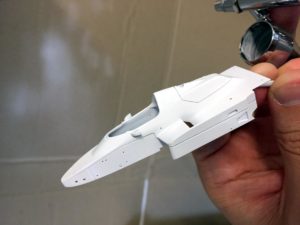
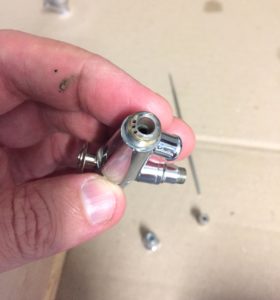
To clean the airbrush, the paint cup is emptied and thinner is first sprayed through. Then cleaner (acetone) is sprayed though, before the brush is broken down per the manufacturer instructions
to allow the needle and internals to be cleaned. This can feel like a chore, but after practice its no more than a 5-7 minute job.
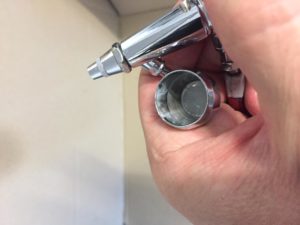
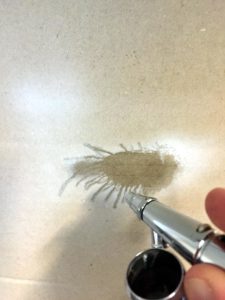
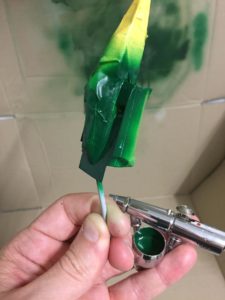
Moving the green sections, we again test spray some paint to check the colour against the kit decals. Here we will use Tamiya acrylic X5, which is ok to spray over the Gunze lacquer. The airbush applies a thin, even coat and with practice, should leave details such as panel lines sharply defined without any pooling of paint.
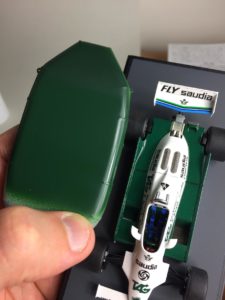
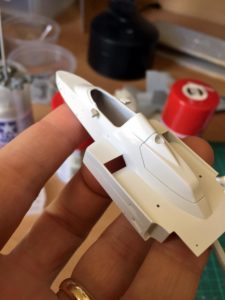
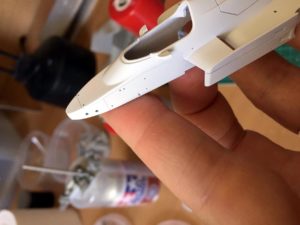
The next series of photos show the process of masking the colour sections. The important tools here are masking tape (Tamiya normal and flexible), sharp scissors and clear photos of the real car.
Start with the lines between the colours, either cutting sections of standard tape, or using the flexible tape for curves. It can take some time, but its always easier to fix a masking line, than have paint in the wrong spot later.
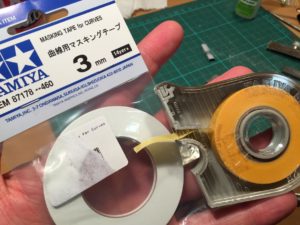
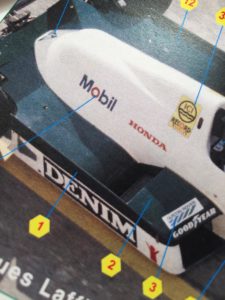
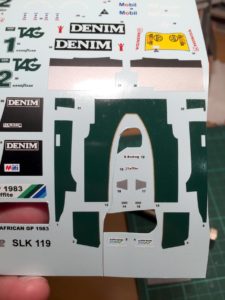
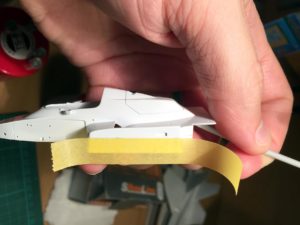
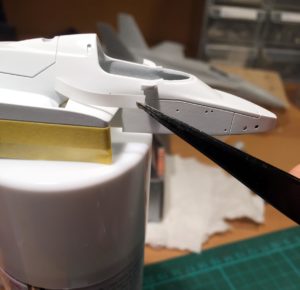
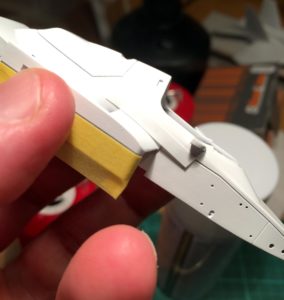
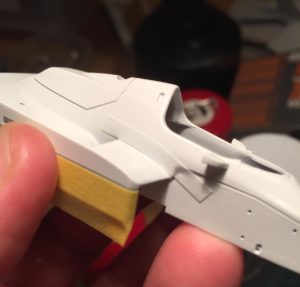
While the lines masked, the larger sections can be blocked out. Don’t forget the interior.
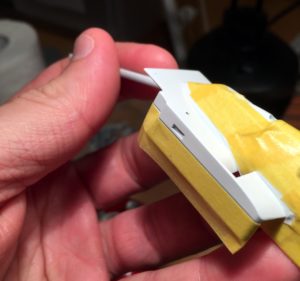
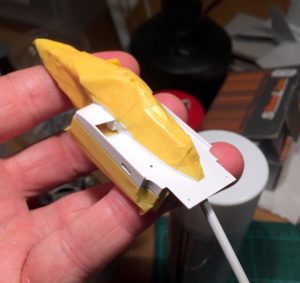
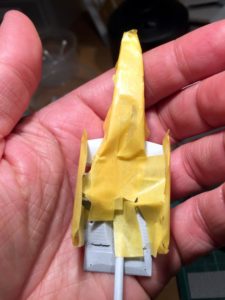
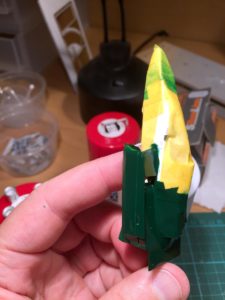
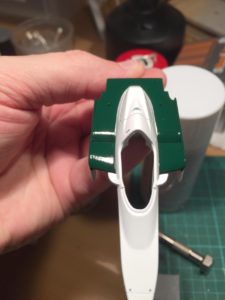
The green paint is mixed to the same consistency as the white. Spraying in two thin coats, good coverage is achieved. After the airbrush is cleaned, masking is removed to reveal the two-colour scheme.
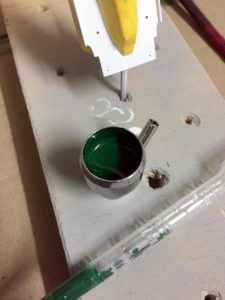
The balance of the car was assembled following the kit instructions.
To complete the colour pattern, the thin gold lines are cut from the kit decals and placed over the green-white joins. To smooth the paint step, a coat of gloss clear was sprayed before the decals are applied.
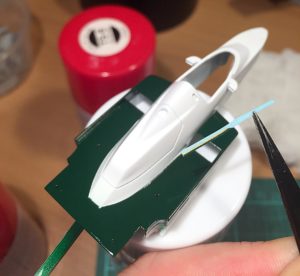
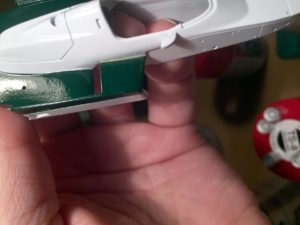
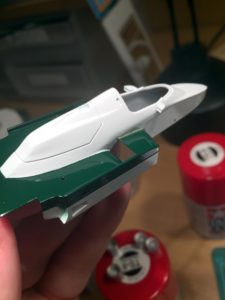
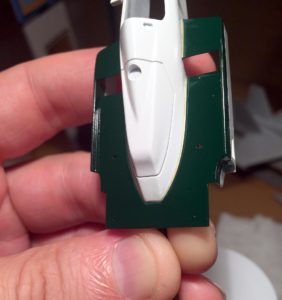
The sponsor decals can then be applied.
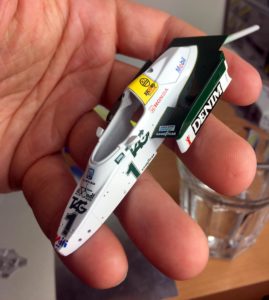
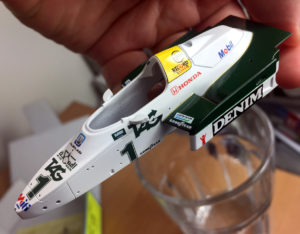
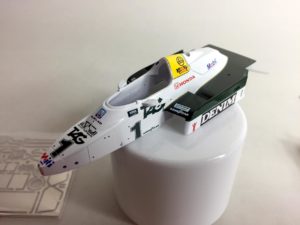
Two coats of Gunze clear were sprayed over the decals, then sanded with #2000 paper to remove any step at the edges of the decals. The paint is then polished with Tamiya compound (coarse then finish) to a mirror shine. The polishing can take time, but the results are worth the effort.
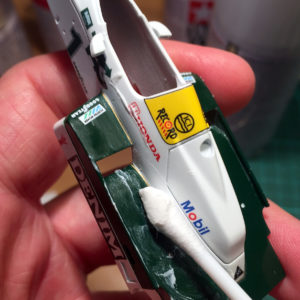
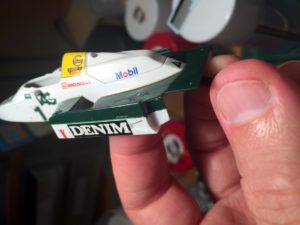
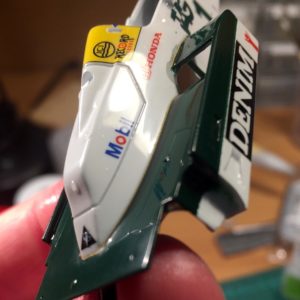
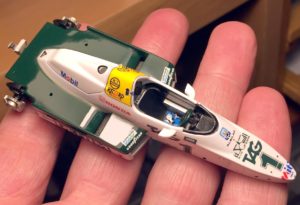
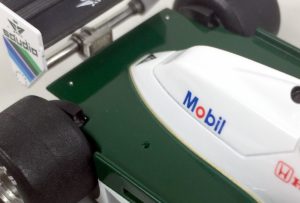
Wing elements were covered with carbon fibre decals and sprayed with flat clear before final assembly.
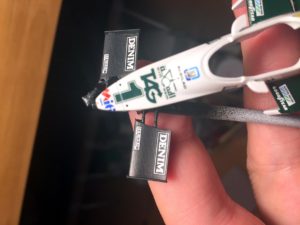
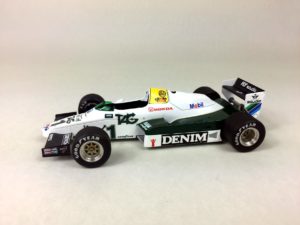
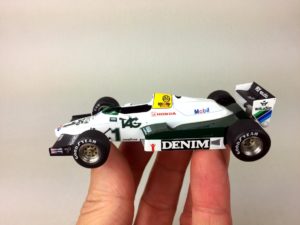
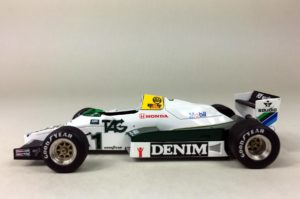
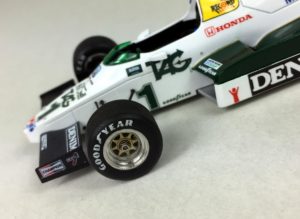
The finished model!
