Pick a language
Focus
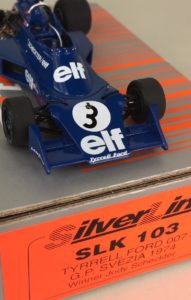
SLK 103 – TYRRELL FORD 007 SWEDISH GP 1974 – by michael kelly
In this Focus section we will assemble the 1974 Swedish GP winning Tyrrell 007 in its iconic blue ‘elf’ livery.
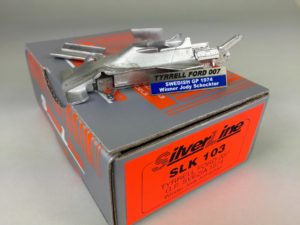
Removing the parts from the box, a test-fit of the main elements of the car is impossible to resist. The main body elements capture the unique shape of the 007 perfectly, and the flawless castings provide excellent detail and fit.
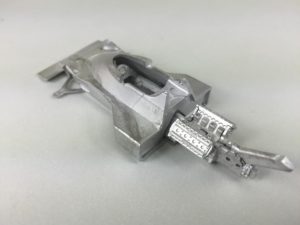
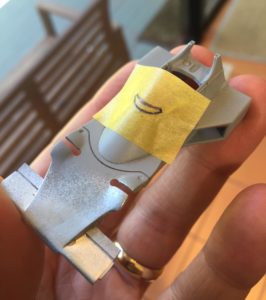
With this build a couple of techniques were used to detail the model. The small flap at the front of the cockpit was traced onto masking tape.
Then a thin section of brass sheet was cut to shape with scissors and a file.
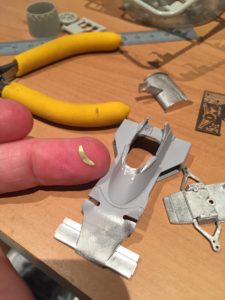
Bent to shape with tweezers and glued in place, the part ens of the body were assembled following the kit instructions. The airbox above the driver’s head was drilled open a little for effect.
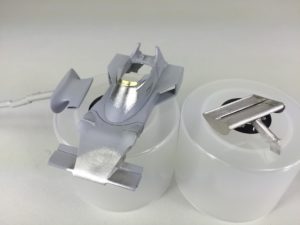
The wing mirror sections were also hollowed, and some holes drilled where body fasteners would be fitted. The body was sprayed with Tamiya grey primer and sanded to a smooth surface.
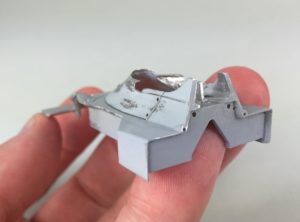
Another angle on the thinned cockpit surronds.
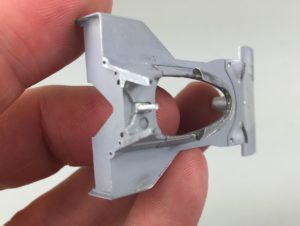
The flaps were carefully removed from the front wings with a Dremel motor tool and file.
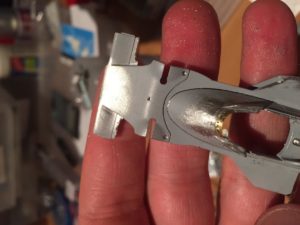
Replacement flaps where then cut from brass sheet….
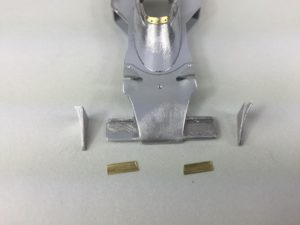
…and glued in place with the kit end-plates.
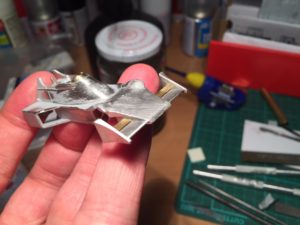
Vanes and hinges were added to the wing flaps to complete the effect. The rest of the body was polished to a smooth finish with steel wool.
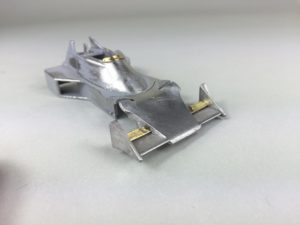
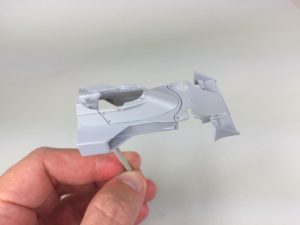
A second coat of Tamiya grey primer was then applied.
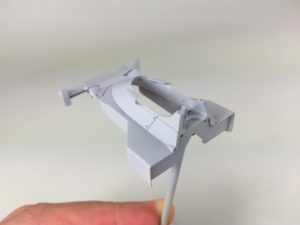
Another angle on the primed body.
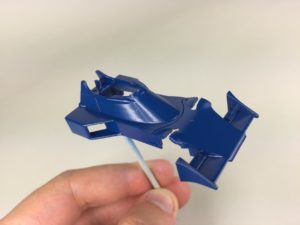
Then the body was airbrushed with Acrylic blue base coat. In this case a matched colour from ‘Zero Paints’ was applied, however Tamiya TS15 is a perfect match for this car.
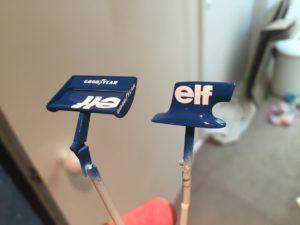
The ‘elf’ logos are applied to the wing and airbox.
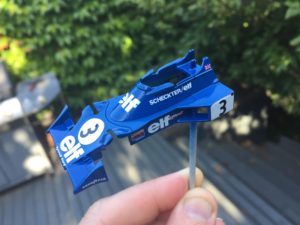
All body parts were sprayed with Gunze clear, then lightly sanded. A second coat of clear is applied then the body was polished with Tamiya compound. Under natural light, the gloss finish is very satisfying.
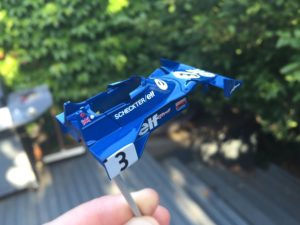
The reverse angle of the polished body.
Moving to the ‘other half’ of the model, the engine and transmission were assembled, then sprayed with Tamiya gun metal.
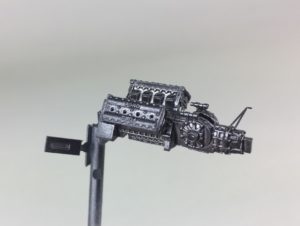
To build depth to the engine shades, diluted matt black acrylic was painted over sections of the engine, then when dry, the areas were lightly polished with steel wool. This exposed the ‘Ford’ logos as well as giving the engine a worn appearance.
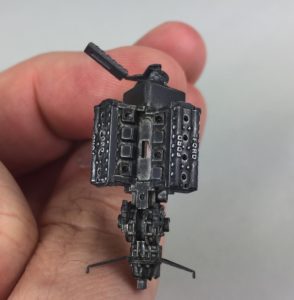
The exhaust pipes and aluminium piping was all polished with steel wool. The exhausts were then sprayed with Tamyia metal primer, smoke, then flat clear. Diluted flat black paint was used to fill the ends of the exhausts after these had been drilled open. The paint will settle thicker in the depths of the pipe, adding to the depth effect.
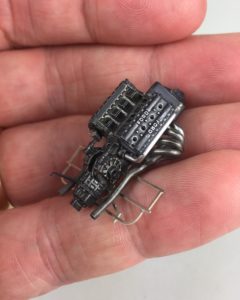
This model really is two projects, one shiny blue, the other greasy metal. Still plenty more to do on each, but bringing them together is always good for motivation!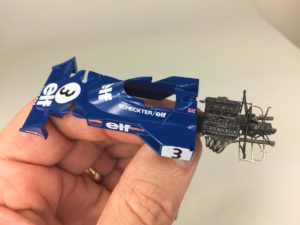
Here the brake ducts and drive shaft boots have been drilled open and mounted for painting.
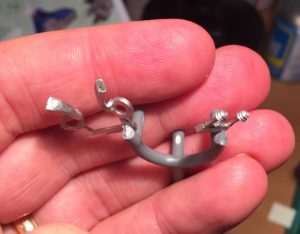
A few more parts added around the rear brake assembly. The air ducts appear to be fibreglass and had texture and subtle colour. After painting black, the surface was lightly dabbed with various shades of brown and grey with a large and dry brush to create a mottled effect.
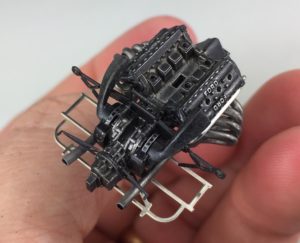
Uprights and dampers were fitted, and some wiring added around the engine. In each case, parts were polished, painted, then ‘washed’ with diluted paint to accentuate the detail.
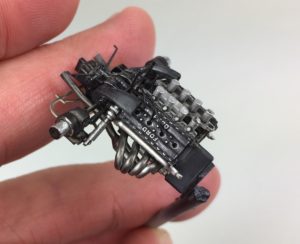
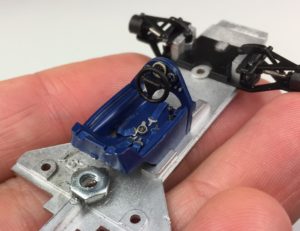
The seat belt parts are bent to shape, painted gloss blue, decaled, then sprayed in flat clear. After the paint is dry, the blue is scraped off the buckles, and a fine black wash is applied to outline the parts.
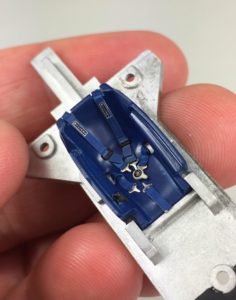
The instrument panel was painted blue, given a black wash with diluted oils, then the paint was scraped off the buttons and gauges. The central gauge was painted the distinctive tan colour, then decals were applied.
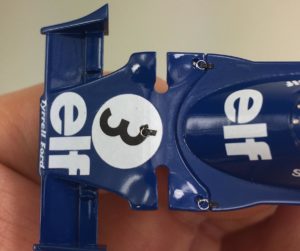
On the real car, the nose body work is attached with interesting fasteners. These were added with loops of wire, and black decal to simulate the tape used to hold these in place when on track.
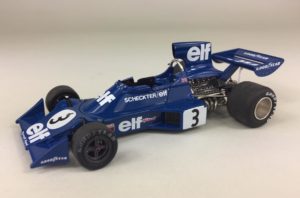
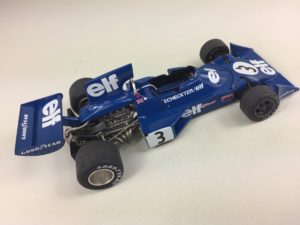
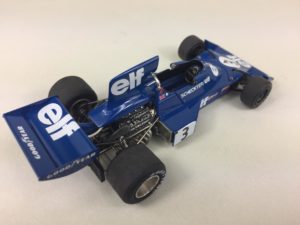
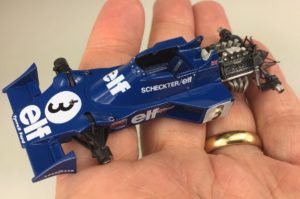
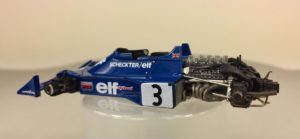
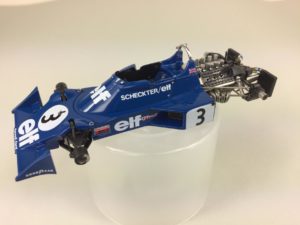
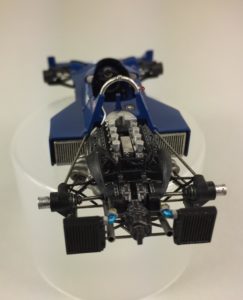
The body and engine were fitted, and suspension tie rods attached. It is always exciting to reach this point with a build. Several photos illustrate the emerging vehicle.
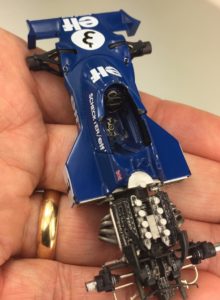
At the rear of the car are large oil coolers. The coolers and fittings are provided as cast parts in the kit and were simply painted and fitted.
The roll over hoop is cast in white metal. The part was polished and fitted.
Hoses for the oil coolers are provided in the kit as soft metal wires. These were painted in various shades of Tamiya acrylic (rubber black as a base).
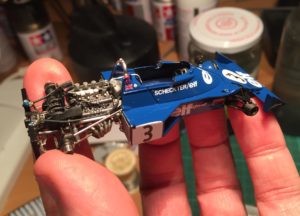
The large rear wing can finally be fitted in place. The painted part neatly attaches via a large metal tab which extends deep into the transmission for a solid attachment.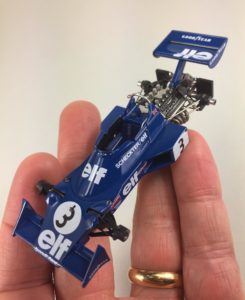
The airbox fits neatly above the engine, attaching to several contact points for a durable attachment. Two-component epoxy glue is used for the fitting.
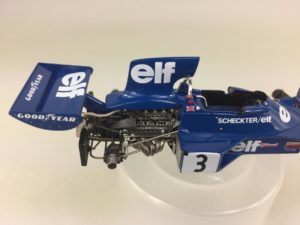
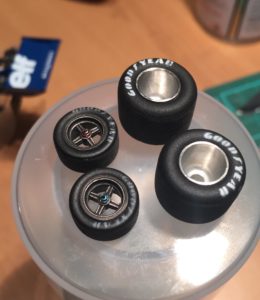
Cast rear wheels were polished with steel wool to increase the reflective nature of the surface.
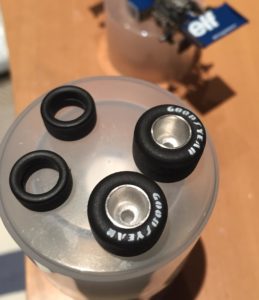
The front wheels are anodised metal, so were polished then painted with several layers of clear ‘smoke’. “GoodYear” tyre logos were sprayed with a stencil to replicate the dustier appearance of the front tyres after heavy braking. This effect can also be achieved by dusting over the decals with ground charcoal.
With the wheels fitted, the model is complete!
